


Outline
- Introduction
- Prerequisites
- Implementation
- Create Token Generator, Decoder, and Validator
- Generate Invitation Link through API
- Build the Accept Invitation Page
- Store Beta User Information in Database
- Protect the Routes
- BONUS: Open Graph Meta Tags
- Conclusion
Introduction
Is your SaaS ready for closed beta? Let's check... If you
- have built out the MVP features,
- are looking to test out the product with real users,
- don't want to launch publicly yet
then congratulations! You've arrived at the right place. This article is specifically for you. 🎉

It's time for you to open your product to a set of early believers, who'll be providing you with critical feedback, bug reports and feature requests. All you have to do is simply... invite them.
But, wait! Beta invitations can be tricky. There are several conditions you need to think about, such as:
- To make sure the invitation link is unique to a particular user
- To verify if the token is actually issued by you
- To protect your application from unauthorized access
- To have a great onboarding experience
- And more...
In this article, let's have a look at Noggin's strategy to handle beta invitations.
Prerequisites
- I'm assuming you already have a Next.js project set up and running. Otherwise, why'd you be here hmmm? 🤔
- Basic knowledge of JWTs. You can read about it here.
Though I'll be using TypeScript, the same principles apply to JavaScript projects as well. Just ignore the syntax for types, or in simpler terms, the parts of code that feel alien to you 😆, and you should be good to go!
Implementation
Step 1: Create Token Generator, Decoder and Validator
- First and foremost, create an environment variable
JWT_SECRETin the.envfile. You need this secret to verify the signature. Set it's value to a long, random string. Just make sure it's hard to guess. - Then, install the
jsonwebtokenpackage.
npm install --save jsonwebtoken
# OR
yarn add jsonwebtoken
- Now, you're good to go. Create a folder called
utilsat the root of your application and add a file inside it calledtoken.ts
// utils/token.ts

import jwt from "jsonwebtoken";

const SECRET = process.env.JWT_SECRET;
if (!SECRET)
  throw new Error("Please add JWT_SECRET in the .env file.");

type JwtPayload = {
    name: string;
  email: string;
};

export const generateInvitationToken = (payload: JwtPayload): string =>
  jwt.sign(payload, SECRET, {
    expiresIn: "1w",
  });

export const decodeInvitationToken = (token: string): JwtPayload | null => {
  if (!token) {
    return null;
  }
  try {
    return jwt.verify(token, SECRET) as JwtPayload;
  } catch (error) {
        console.error(error)
    return null;
  }
};

export const checkTokenValidity = (
  invitationToken: string,
  email: string
): boolean | null => {
  const payload = decodeInvitationToken(invitationToken)
  if (!payload) {
    return null
  }

  return payload.email === email;
};
I'm passing the user's name and email as the payload. You can use pass other information too if you'd like. Just make sure it contains the user's email. It's important because that'll help the JWT to validate it's the same user that is logging in. More on this later.
- Here, I create 3 functions that generate, decode, and validates the JWT, respectively.
generateInviteTokenmakes use of the[jwt.sign()](https://github.com/auth0/node-jsonwebtoken#jwtsignpayload-secretorprivatekey-options-callback)method to generate a token.decodeInvitationTokenaccepts that JWT token, decodes it and returns the payload if the signature is verified using[jwt.verify()](https://github.com/auth0/node-jsonwebtoken#jwtverifytoken-secretorpublickey-options-callback).checkTokenValiditymakes use ofdecodeInvitationTokento get the payload from the token. Then, it checks if the correct user is signing up using the invitation link by matching the email from the payload and the user's email. That's why it's important to store the email in the payload.
Step 2: Generate Invitation Link through API
Now, that you have the helper functions ready, it's time to create an actual API that'll generate the invitation links for you.
Go ahead and create a get-invitation-link.ts file inside the pages/api folder.
// pages/api/get-invitation-link.ts

import { NextApiRequest, NextApiResponse } from "next";
import { generateInvitationToken } from "../../utils/token";

export default async (req: NextApiRequest, res: NextApiResponse) => {
  try {
    const { name, email } = req.query;

        if (!name || !email) {
      throw new Error(`Please pass a name and an email as the query parameters.`);
    }

    const invitationToken = generateInvitationToken({
      name: name?.toString(),
      email: email?.toString(),
    });

    res.send({
      link: `http://localhost:3000/accept-invitation?email=${encodeURIComponent(
        email?.toString()
      )}&invitationToken=${invitationToken}`,
    });
  } catch (error) {
    console.error(error);
    res.send({
      error: error.message,
    });
  }
};
You need to pass the payload data as query parameters to this API. Here, I'm using the name and email to generate the token. Then, I create an invite link that routes to the accept-invite page that I'll create in a moment. I also pass the email and the generated token as the query parameters to that route. You'll know why, soon.
Anyways, let's see the API in action...
- Send a request to http://localhost:3000/api/get-invitation-link?email=wahab.shaikh@somaiya.edu
- The response that you should see
{"link":"http://localhost:3000/accept-invitation?email=wahab.shaikh%40somaiya.edu&invitationToken=eyJhbGciOiJIUzI1NiIsInR5cCI6IkpXVCJ9.eyJ0eXBlIjoiQkVUQV9JTlZJVEUiLCJ1c2VyRW1haWwiOiJ3YWhhYi5zaGFpa2hAc29tYWl5YS5lZHUiLCJpYXQiOjE2Mjk5MDEzMDIsImV4cCI6MTYzMDUwNjEwMn0.YEjM14UaSBEtbKH9HHI1M8Rht8GpmX8p_9sq976VlZ0"}
Step 3: Build the Accept Invitation Page
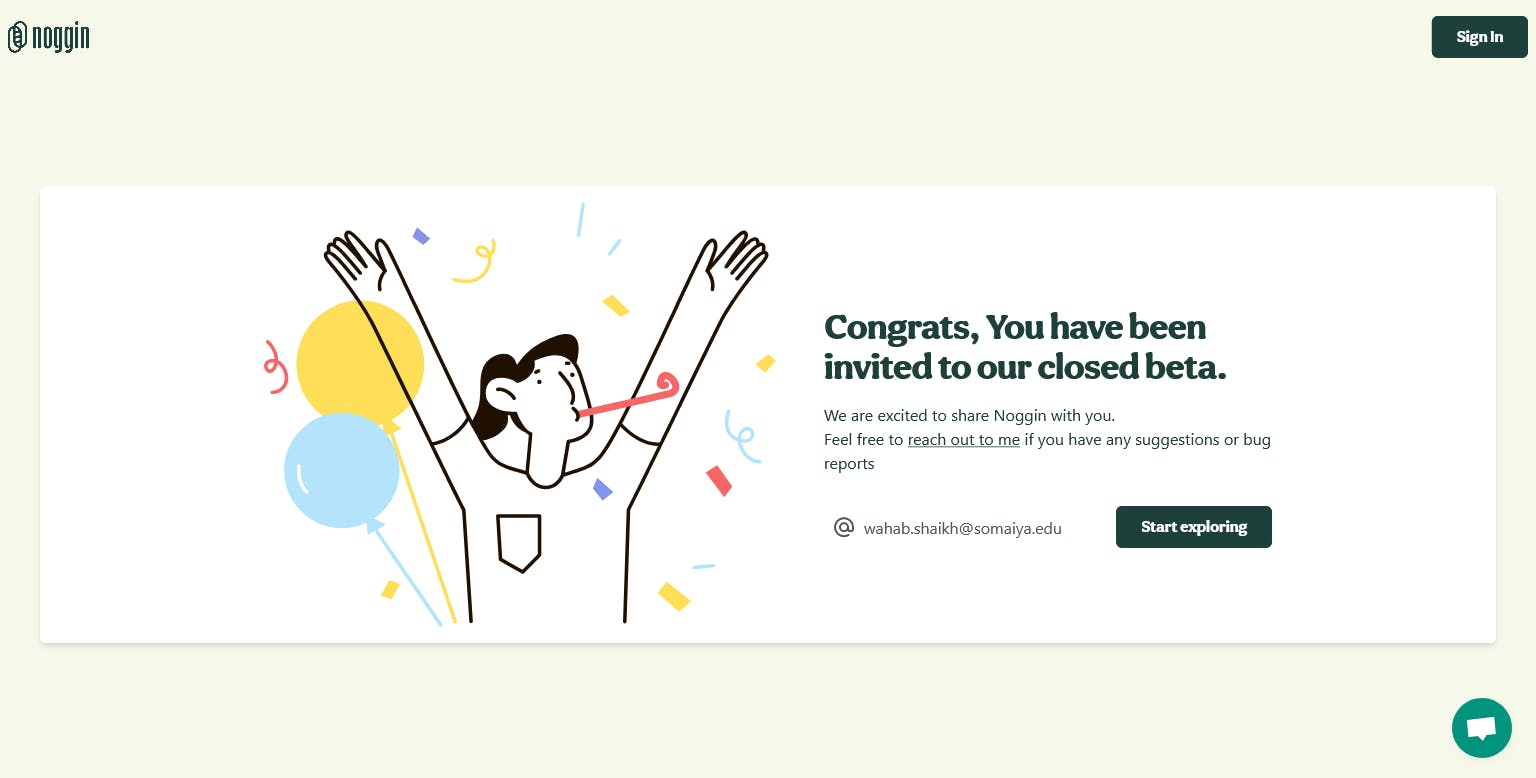
Once the user clicks on the invitation link, it should take them to a page where they accept your invitation and log in to the application to start using it. It's generally a good practice to create a separate page for this purpose instead of using the default sign-up page for a better onboarding process. Here's an example from Noggin.
So, let's create an accept-invite page by creating a file of the same name inside the pages directory.
// pages/accept-invite.tsx

import router from "next/router";
import { checkTokenValidity } from "../utils/token.ts";

export default function AcceptInvitePage() {
  const router = useRouter();
  const { email, invitationToken } = router.query;

  const handleSubmit = async () => {
    try {
      const isInvitationTokenValid = checkTokenValidity(
        invitationToken.toString(),
        email
      );

            if (isInvitationTokenValid) {
                // Log the user in
            }
    } catch (error) {
      console.error(error);
    }
  };

  return (
      /**
         * Beautiful UI that contains a submit button that calls
         * the handleSubmit function.
         */
    );
}
I'm just checking if the user that is trying to log in (i.e. the email from query parameters) is the same as the user that's actually invited (decoded from the token). If they are the same, then the token is indeed valid and we can safely log the user in.
For the sake of simplicity, I have omitted other logic like redirecting already logged-in users, checking if the token is passed in the query parameter or not, etc. Feel free to add them for a better UX.
Step 4: Store Beta User Information in Database
Now that the beta user is logged in to your application and using your product, you need to make sure the access is confined to them. Relying on JWTs is not wise here, because they'll lose access once the token expires. That's when a database comes in handy. You need to store some information in the database that'll help you to keep the application's access safe from non-beta users.
Noggin deals with this problem in a really simple way. There's a column isInvitedToBeta in the User model that stores a boolean value. By default, it's set to false. Once the beta user accepts the invite and is validated and logged in, this field is changed to true.
Since your application may be using a different database than ours and you may or may not be using an ORM, I have kept this section code-agnostic.
Step 5: Protect the Routes
Alright! You now have the mechanism in place to check if the user is a beta user or not. The final step is to actually protect the routes of the application. And all it takes is a simple ternary operator check on the pages that you want to protect.
export default function Page() {
    return isInvitedToBeta ? (
        // UI for beta users
  ) : (
        // UI for non-beta users
    )
}
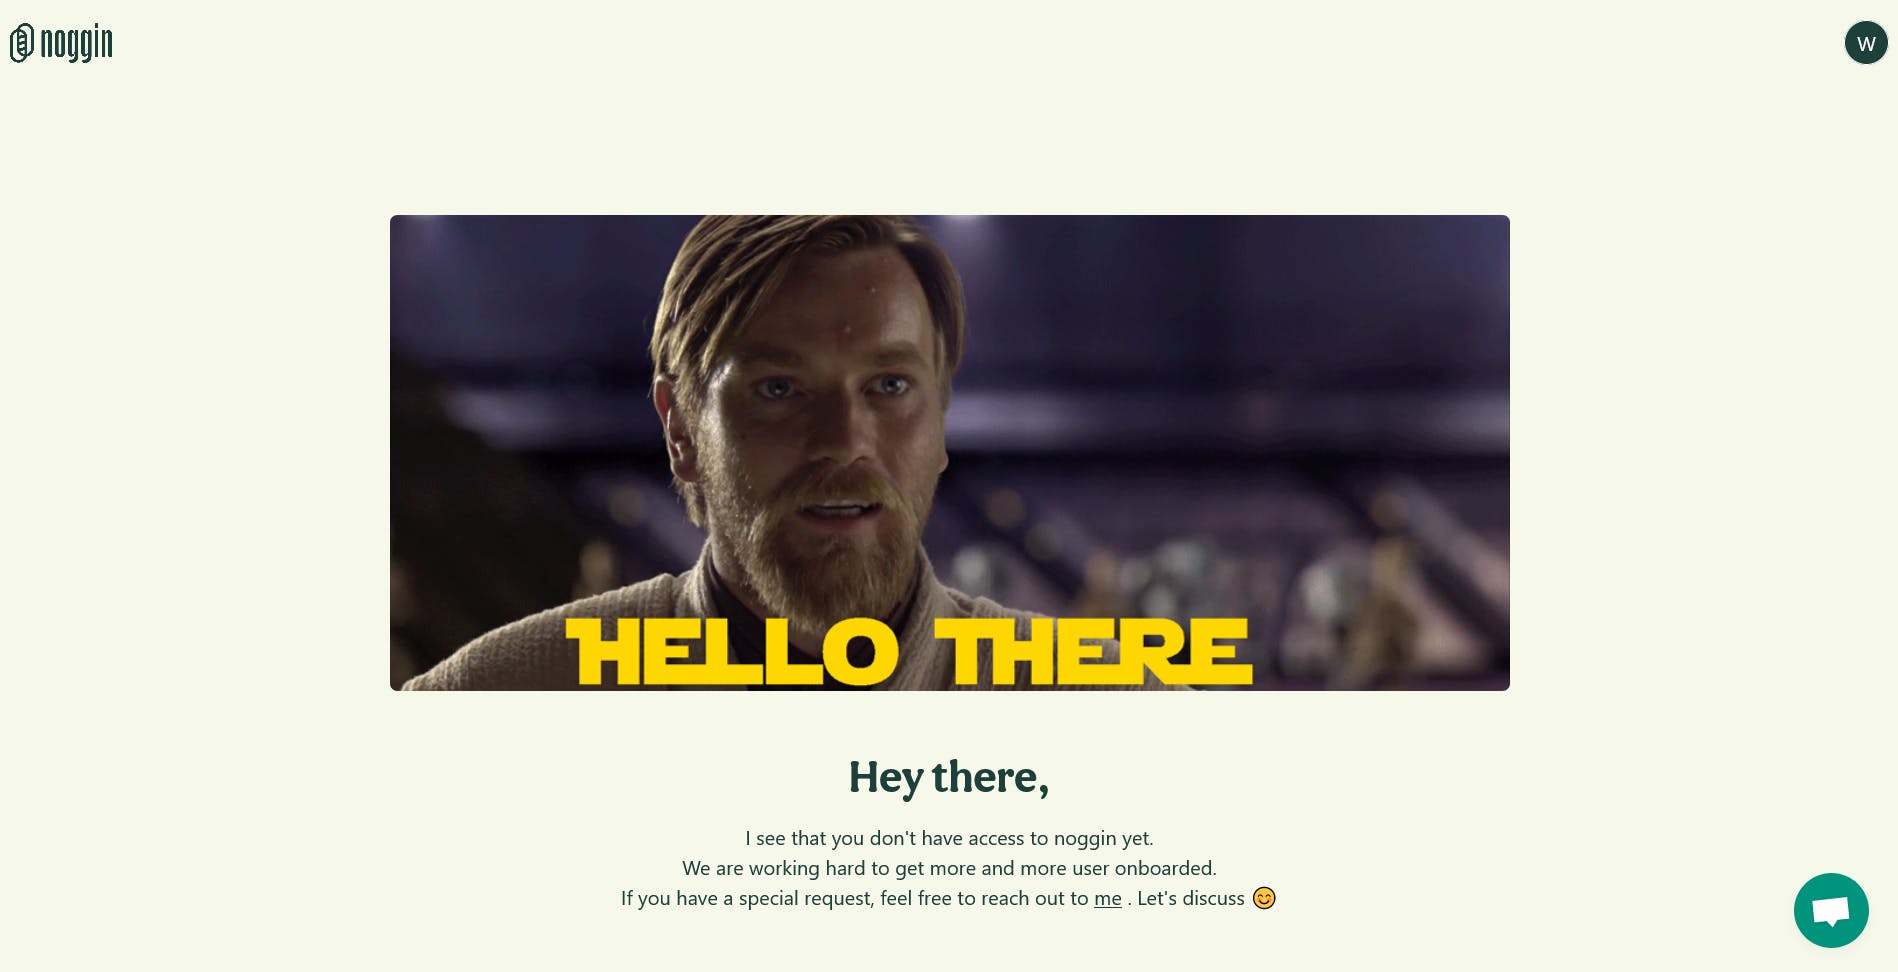
You can very well return null for a blank screen (a.k.a. the white screen of death 😈). But hey, this is your chance to show some creativity as well. Here's Noggin in action...
BONUS: Open Graph Meta Tags
You might want to add og meta tags so that the invitation link is more clickable, shareable, and noticeable on social media. You can read about the Open Graph Protocol on ogp.me.
Anyways, here are the tags listed for you...
<Head>
    {/* Twitter */}
    <meta name="twitter:card" content=""/>
    <meta name="twitter:creator" content="" />

    {/* Open Graph */}
    <meta property="og:url" content="" />
    <meta property="og:image" content="" />
    <meta property="og:site_name" content="" />
    <meta property="og:title" content="" />
    <meta property="og:description" content="" />
</Head>
Conclusion
Best of luck launching your product!😄 Hope this article helped you understand the strategy behind handling beta invites in Next.js and prepared you to onboard real users into your application.