


In this tutorial, I will show how we implemented White-Labelling using CSS variables at Noggin and how you can add that in your further projects
Why White-labelling?
If you are building a tool that will be used by many users and you want each user's build asset to look unique adding white-labeling to your application will reward you in numerous ways and will also give users a Rich User Experience.
Example
- Noggin is a great tool for Building Short Courses just using your Notion docs. Yes, it is that simple. Because of the White-labelling that we have implemented Users can edit their course and add Custom Themes and Custom Fonts and beautify their Courses
Let us understand CSS variables
CSS variables are a great way to avoid repetitive code when writing CSS code. Just define a color that you will be using more than as a variable and use it instead
element {
  --main-bg-color: brown;
}
How was theming achieved at Noggin?
Noggin's main focus was each and every course should have a different identity and users should have full control of their course and have the ability to customize their course with their own color palette and fonts
We had three main components that should be customizable according to the users:
- Landing page

- Course Page
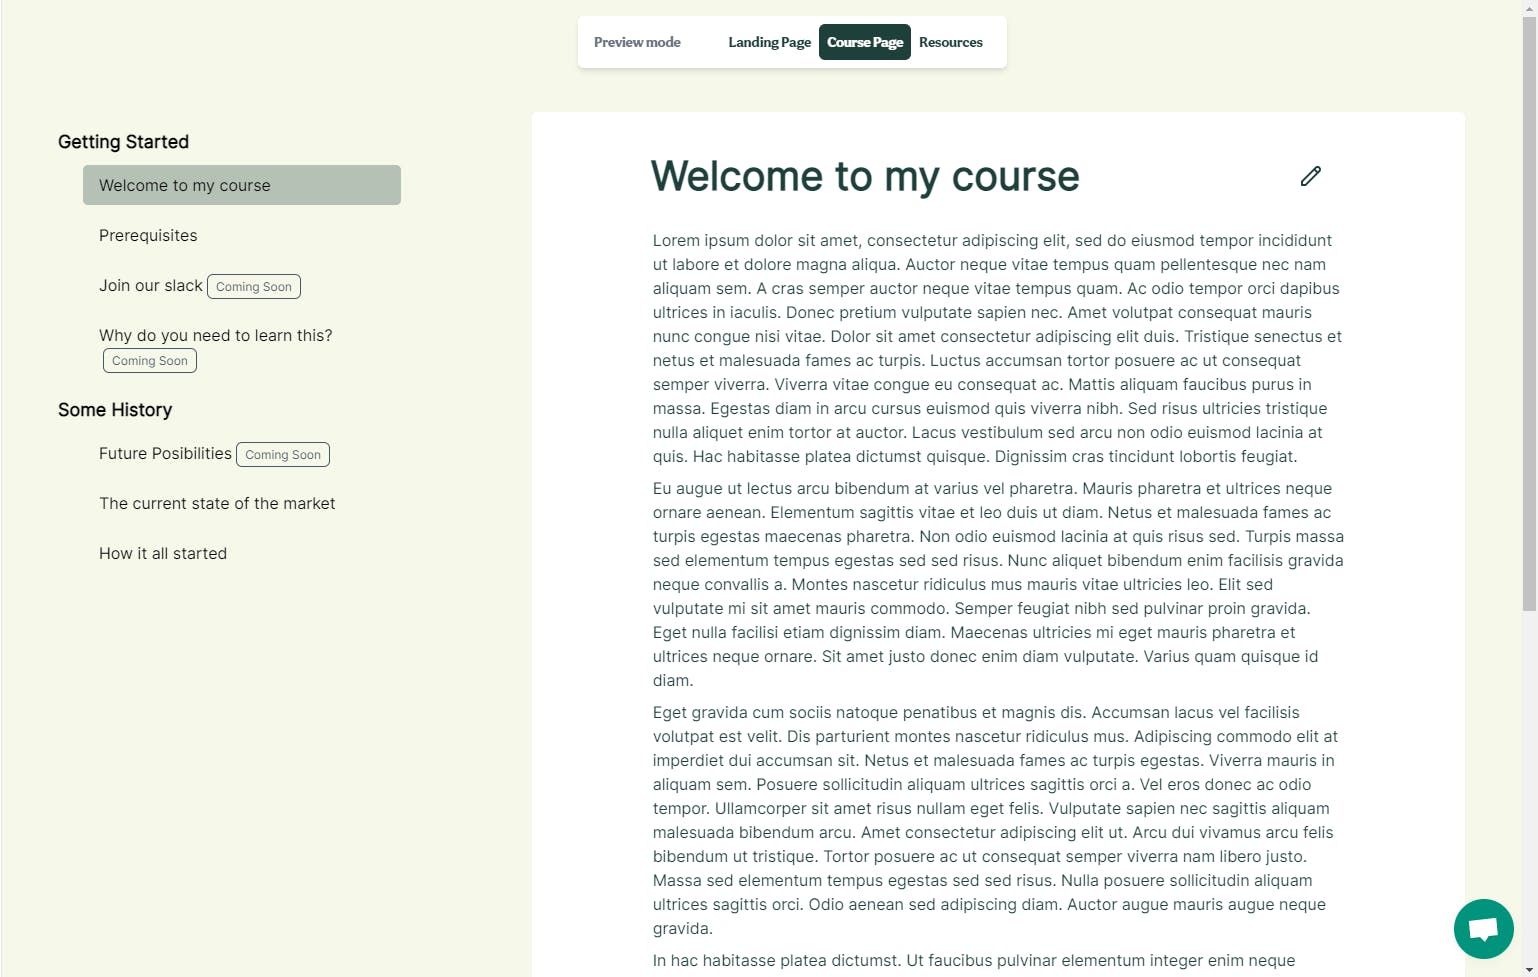
- Resources Page

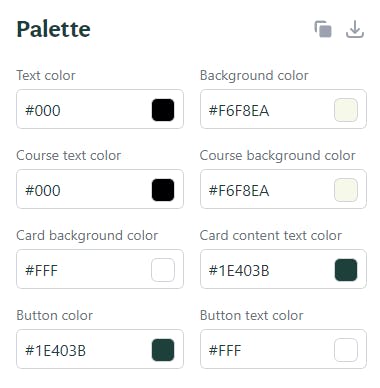
We provide a palette from where users can edit their courses and add custom colors and fonts:
Show me the Code!
Here we go to the Code part, We define All the customizable properties in a Component called theme and the entire state of the changeable property is being handled by that component Here is how it is done. Define the default values of all the colors and fonts
const defaultBrandFonts = {
  headingFont: "Inter",
  paragraphFont: "Inter",
};

 const defaultBrandColors = {
  textColor: "#000",
  backgroundColor: "#F6F8EA",
  courseTextColor: "#000",
  courseBackgroundColor: "#F6F8EA",
  cardBackgroundColor: "#FFF",
  cardTextColor: "#1E403B",
  buttonColor: "#1E403B",
  buttonTextColor: "#FFF",
};
Next, make a React Component and define your CSS, and pass it in the style tag:
export const ThemeStyle: React.FC<ThemeStyleProps> = ({
  theme = defaultCourseTheme,
  selector = ":root",
}) => {
  const css = `
        ${selector} {
          --text-color: ${theme.textColor};
          --background-color: ${theme.backgroundColor};

          --course-text-color: ${theme.courseTextColor};
          --course-background-color: ${theme.courseBackgroundColor};

          --course-card-background-color: ${theme.cardBackgroundColor};
          --course-card-text-color: ${theme.cardTextColor};

          --course-button-color: ${theme.buttonColor};
          --course-button-text-color: ${theme.buttonTextColor};

          --course-heading-font: ${theme.headingFont};
          --course-paragraph-font: ${theme.paragraphFont};

          font-family: var(--course-paragraph-font);

          --fg-color: var(--course-text-color);
          --bg-color: transparent;
        }

        ${selector} .notion {
          font-family: var(--course-paragraph-font)
        }

        ${selector} .course-landing-page .notion {
          --fg-color: var(--text-color);
        }

        .course-content-wrapper {
          --fg-color: var(--course-card-text-color);
        }
    `;

  return (
    <div>
      <Head>
        <link rel="preconnect" href="https://fonts.gstatic.com" />
        <link
       href={`https://fonts.googleapis.com/css2?family=${encodeURIComponent(
            `${theme.headingFont}`
          )}&family=${encodeURIComponent(
            `${theme.paragraphFont}`
          )}&display=swap`}
          rel="stylesheet"
        />
        <style>{css}</style>
      </Head>
    </div>
  );
};
Let me explain what I have done in the above code
We have defined a CSS object which will have all the data of the course theme .course-background-color represents the background color of the Course and .course-card-text-color represents the text color of the course
After defining the CSS variables now it's time to wrap our whole app with the theme component or define it wherever you want to it by passing the defaultTheme object as a prop.
Over here default theme is
export const defaultBrandFonts = {
  headingFont: "Inter",
  paragraphFont: "Inter",
};

export const defaultBrandColors = {
  textColor: "#000",
  backgroundColor: "#F6F8EA",
  courseTextColor: "#000",
  courseBackgroundColor: "#F6F8EA",
  cardBackgroundColor: "#FFF",
  cardTextColor: "#1E403B",
  buttonColor: "#1E403B",
  buttonTextColor: "#FFF",
};

export const defaultCourseTheme: CourseTheme = {
  ...defaultBrandFonts,
  ...defaultBrandColors,
};
Default Theme is just the combination of defaultBrandFonts and defaultBrandColors
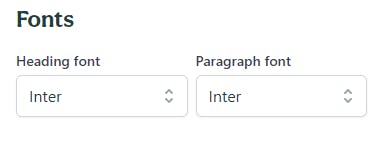
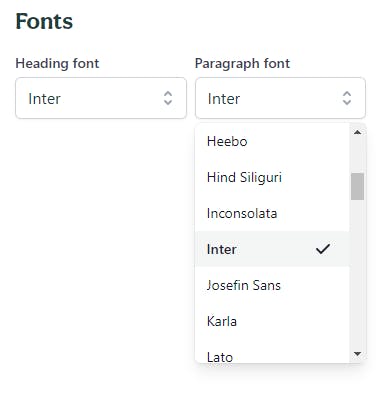
How are fonts working?
Whenever a user selects a font we update our database with the selected font same as we do with the themes
 As soon as there is an activity or the defaultTheme changes
     <Head>
        <link rel="preconnect" href="https://fonts.gstatic.com" />
        <link
          href={`https://fonts.googleapis.com/css2?family=
          ${encodeURIComponent(
            `${theme.headingFont}`
          )}&family=${encodeURIComponent(
            `${theme.paragraphFont}`
          )}&display=swap`}
          rel="stylesheet"
        />
        <style>{css}</style>
      </Head>
The themes component is being rerendered and we see the changed fonts as well as the theme.
Next Step
Define a selector and import the themes component in another component and Inject that component
import React from "react";
import { useFormContext } from "react-hook-form";
import { ThemeStyle } from "../../utils/theme";

export const CourseThemeInjection = () => {
  const { watch } = useFormContext();
  const theme = watch("theme");

  return (
    <>
      <ThemeStyle selector=".course-wrapper" theme={theme} />
    </>
  );
};
useFormContext is being used for fetching the theme object which has course colors and fonts
Here is the final output 🚀

Conclusion
White-labeling your App using CSS variables can be very useful if implemented properly. I hope using the solutions provided in the above post you would be able to white-label your further apps and projects